


This article shows you how to set up and work with the MetaMask browser extension. So nothing stands in the way of becoming part of the more than 1 million users worldwide and researching and expanding the network. MetaMask is a worldwide popular, secure, and free browser extension that web applications can use to interact with or even read the Ethereum blockchain. MetaMask also includes a key deposit and an Ethereum wallet for managing ETH-based crypto assets. Thus, all essential data are in the hand of the user, which ensures maximum security. So let's begin.
Install MetaMask in your browser
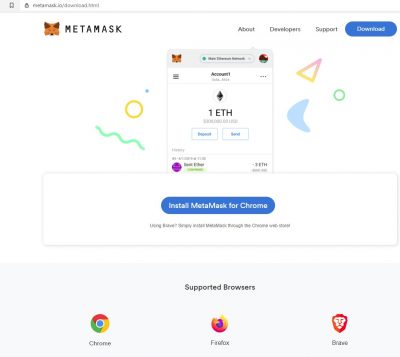
The browser extension is available for Chrome, Firefox, Brave, and Opera.
- Open the URL: https://metamask.io/download.html
- Next, choose the right extension for your browser
- After doing this, your browser will ask you to add the extension.
Create an account
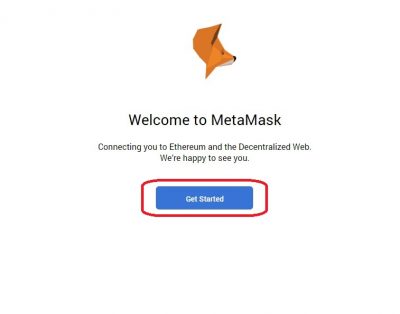
After the browser is ready, create your new account in the next step.
- Now click on Get Started to begin.
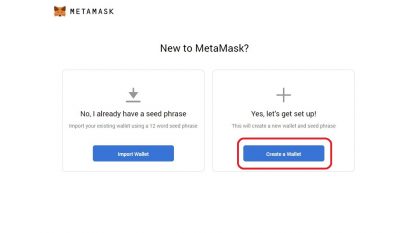
- Next, click on Create a Wallet.
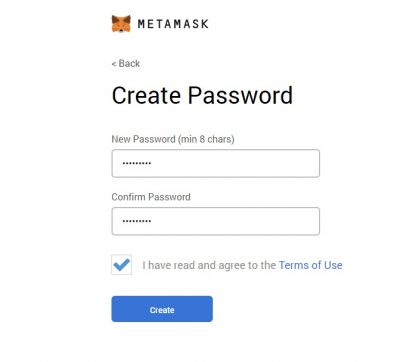
- You will be asked to create a new password and continue by clicking the Create button.
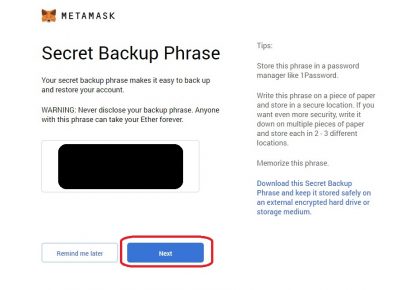
- A so-called seed phrase consisting of 12 words is then displayed. IMPORTANT: Be sure to keep the seed phrase safe! Then press Next.
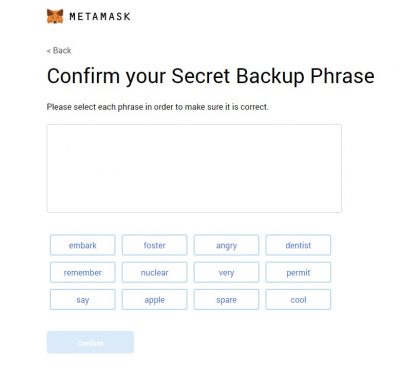
- In the next step, verify the previously saved seed phrase and press Confirm when done.
With the completion of the confirmation, you have now successfully created your MetaMask account, and a new ETH wallet address has been automatically added to the account. Now there is nothing standing in the way of receiving ETH-based tokens or shopping with your credit in supported webshops.
Deposit
Now that you have a new account, it is time to transfer the ETH you already have to MetaMask. You do this as follows:
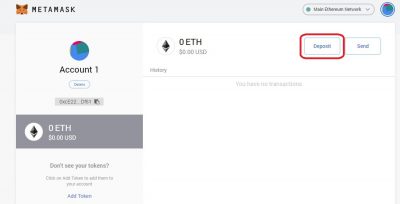
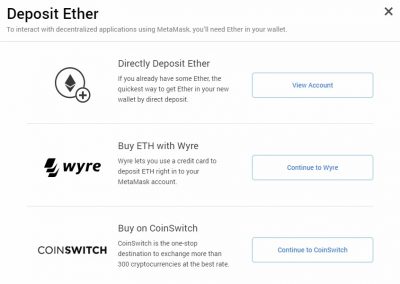
- Click on Deposit
- Option: Select Directly Deposit Ether
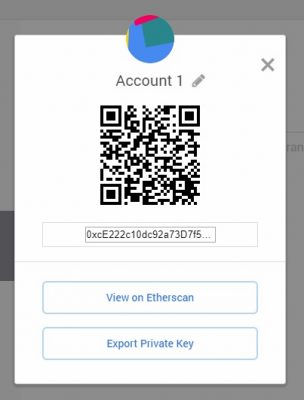
- Copy the ETH address
- Now take the address you just copied and send from your existing wallet ETH to this address. And after the necessary confirmation has been made on the blockchain, you will find your token in the MetaMask wallet.
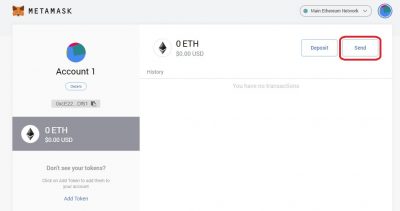
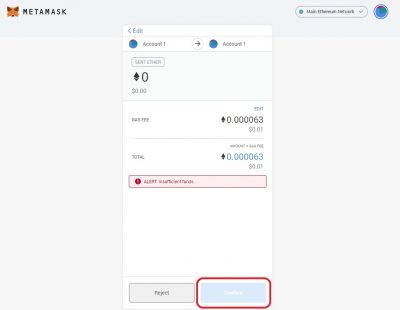
Send
Now that you have loaded your ETH balance, you can send your token again. And this happens as follows:
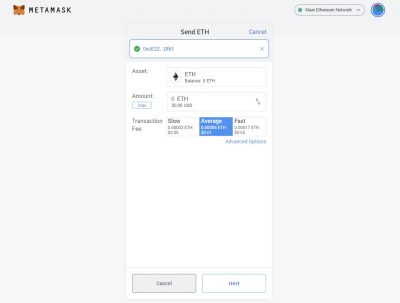
- Click Send
- Set the ETH quantity
- Set Fee
- Click Next
- Click Confirm
Change / Add Networks
With Metamask, you can use a single wallet address for different networks. To do this, you need to configure the additional network in the app.
Open Metamask, click on the active network on the top, and choose "add network." Add the required details and save the configuration.
Configuration details:
BSC Binance Smart Chain
MATIC Polygon
AVAX Avalanche
THETA Theta
FTM Fantom
CRO Cronos
ASTR Astar
HECO Chain
KLAY Klaytn
KAI KardiaChain
OPL Optimism
ETHW EthereumPoW
ETHF EthereumFair
REI Network
or just add the network you like via chainlist.org
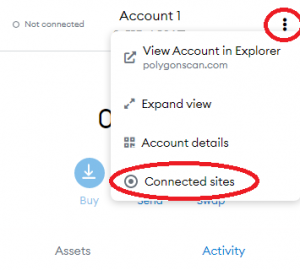
Security & Permissions
You're asked to permit the connection whenever you connect to a DeFi site or app. There are different permissions, but the most common one will ask for "view your account address," which is fine. In addition, you can check and modify your connected sites directly via Metamask:
Always be careful when you interact with a smart contract. Therefore you often have to give spending permissions to that site before transfers can be made. Typically, the default setting is unlimited, with both advantages and disadvantages.
The advantage is that you only have to pay the gas fee for the first transaction, not future transactions. However, it is also a security risk. For example, suppose the contract is negatively affected - as compromised, bugged, or their creators are bad actors. In that case, you can lose the tokens for which you have granted unlimited permission.
The safest way would be to manually edit the permissions first and only allow the amount you're currently transferring. But unfortunately, you'll also need to permit any upcoming transactions, leading to extra gas fees.
You can track and modify your spending permissions via different network scan sites like:
Etherscan for the ETH/ERC20 Network
Bscscan for the BSC/BEP20 Network
Never forget to check the requested permissions before making connections.
Similar Articles
Unlocking the world of seamless crypto spending, crypto credit cards have emerged as the pivotal bridge between decentralized currencies and our daily transactions. Let's explore the leading players in this space and the native tokens that power them.
Navigating the complex landscape of Web3, Polyhedra Network emerges as a leader in the development of interoperability, scalability, and privacy solutions. Leveraging advanced Zero-knowledge proof (ZKP) technology, this article provides a glimpse into the network's groundbreaking achievements and forward-thinking product suite designed to transform the Web2 and Web3 ecosystem.
Potential Airdrops - be one of the first and you might get great rewards.

Uncover the essentials of cryptocurrency token creation in this succinct guide. Learn how to navigate the blockchain landscape, from selecting a platform to testing and launching your digital token. Ideal for both blockchain newcomers and tech-savvy individuals, this article offers a clear pathway to bring your innovative digital currency to life.